
The overview page on LearnDesk is used once you have created your live class, subsequently edited it, and are now ready to submit the class for approval. The overview page is also useful once the class has been approved for publishing.
The overview page on LearnDesk is designed to provide you with all the information that enables you to perform high-level actions in the class in one easy-to-find location. Actions that are enabled by the overview page include the following:
- Preview the sales page of the live class.
- Submit the class for publishing.
- View the sales page of a published class.
- Embed the class on your website.
- Include the class as part of your email marketing campaigns.
- Obtain the links for the sales page of your class for sharing with your audience.
- Trash a previously unpublished class.
You can navigate to the overview page of a live class by clicking on the class name from the list of Live Classes of your school, as shown below:
Then, click on the class that you want to edit, as shown below:
The overview page of the class opens by default when you click on the class name. The overview page of a class that has not yet been published, as shown below:
Title
Use the title of the class to ensure that you are working on the correct class, as shown below:
Submit
Once you have added the basics and pricing information for your live class, you can click on the "Submit" button to submit the class for publishing, as shown below:
Note that, events and materials for the live class can be self-published.
Preview
You can preview the sales page of your class by clicking on the "Preview" button in the top-right corner or on the "Sales Page" button under the "Preview" section, as shown below:
Live classes that have been moved to trash do not appear in the list of all live classes under your school.
Trash
You can click on the "Trash" button to move the live class to trash, as shown below:
If required, you can recover your live class from the trash. To do so, first, view the list of all live classes for your school by clicking on the "Live" button under "Teach" or in the left-hand menu. Next, click on Trash, as shown below:
The list of all of your live classes that have been moved to trash will appear.
Next, you can restore a class by clicking on the "Restore" icon for the respective class, as shown below:
The class will be restored and available for editing under "All" classes.
Once the class has been published, the trash option is no longer available. There are two additional sections ("View" and "Share and Embed") that appear on the overview page of an approved class, as shown below:
Sales Page
You can click on the "Sales Page" button under the "View" section to see the sales page of your live class, as shown below:
Share and Embed
The "Share and Embed" section of the overview page enables you to easily share your class with your audience. There are four tabs available in this section, as shown below:
Embed
The embed code for your class is available under the "Embed" tab, as shown below:
You can use the embed code within your website's HTML code to insert the introduction video and class links on your website. The embed code HTML can be copied by clicking on the copy button, as shown below. You can then paste the embed within the HTML of your webpage to display your class on your website.
Please refer to the article to integrate LearnDesk with your website using the Embed feature: Integrate LearnDesk with your website.
Embedding the live class on your website enables your website visitors to view the introduction video (uploaded under the "basics" tab) on your website as well as receive options to visit the sales page of the class. The image below shows how a live class gets displayed after embedding.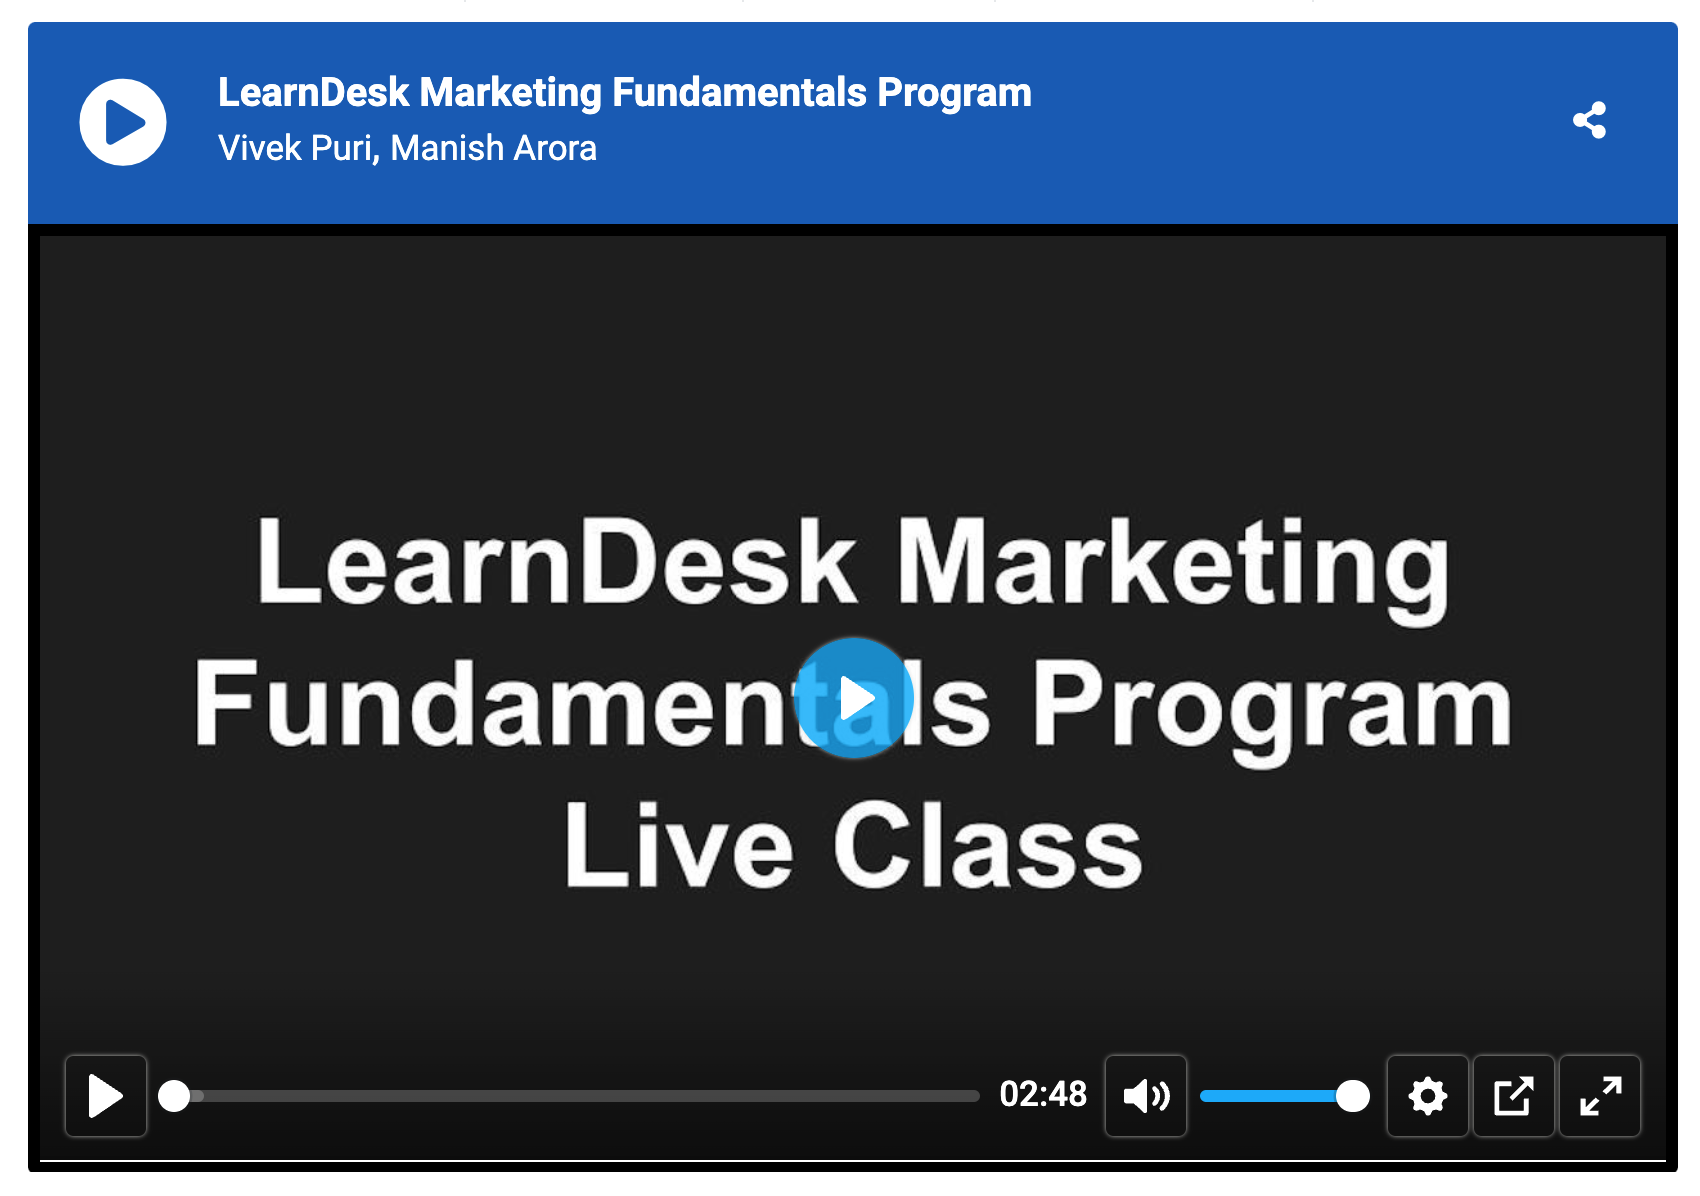
Your website visitors will now be able to view the introduction video using the player controls. Your website visitors are shown options to visit the sales page of the class and book the class, as shown below: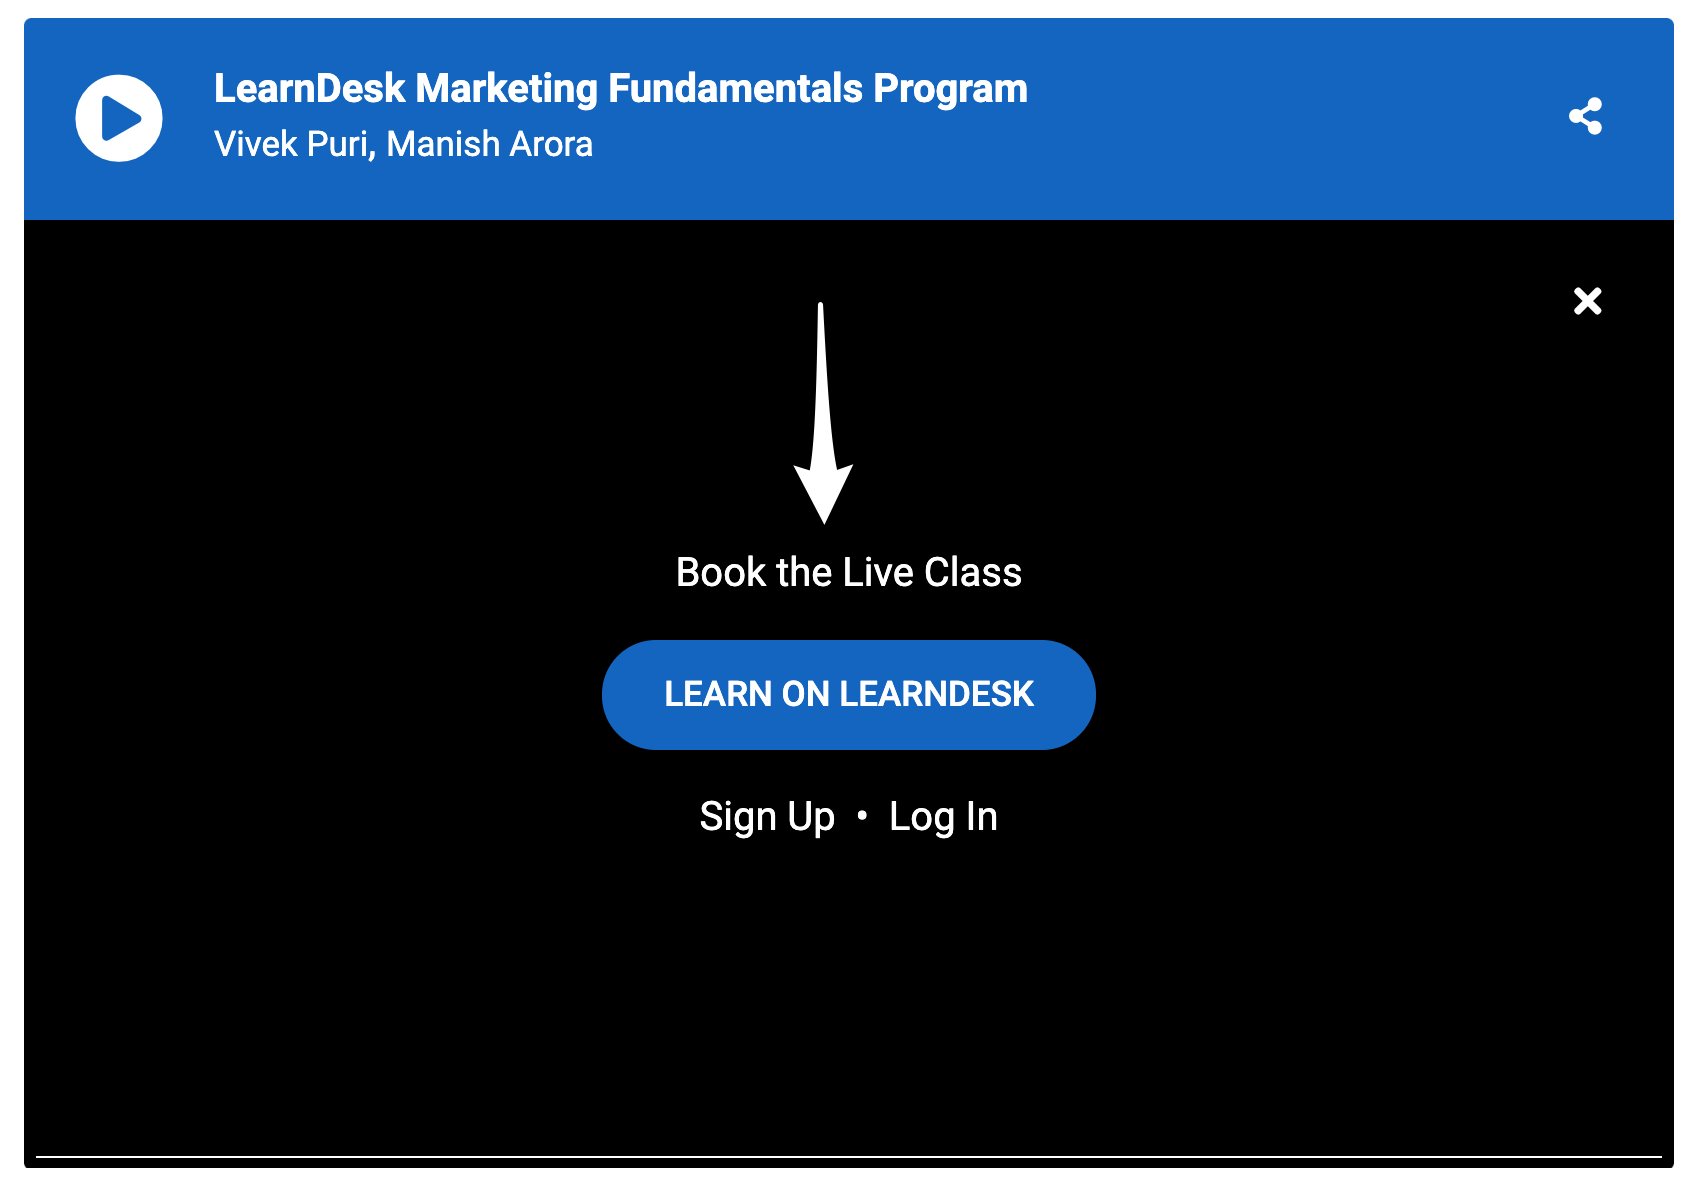
Email Marketing
Next, you can use the information available in the "Email Marketing" tab to obtain email merge tags that enable your class to be inserted within the body of an email. Click on the "Email Marketing" tab, as shown below:
The "Email Marketing" tab enables you to generate email merge tags that can be used with a variety of email marketing services to embed the introduction videos of your class within your email campaigns.
To generate email merge tags for a specific email marketing service, choose the service you use from the dropdown menu, as shown below:
Next, click the "Copy" button to copy the email merge tag, as shown below. You can then paste the email merge tag code within the HTML of your email to insert your class within the email's body.
Share Link
You can obtain a shareable link to the sales page of your class under the "Share Link" tab, as shown below:
The "Share Link" tab provides the class URL, as shown below:
Click the "Copy" button to copy the link, as shown below. You can share the copied link with your audience to get them to view the sales page of your class and sign up for it.
QR Code
QR Code allows you to open your Live Class sales page. You can download and share the QR code, as shown below: